Craft
Fall
Pumpkin Suncatcher
- Authors

- Name
- Alli
- Title
- Co-Founder of AlliKat Kids
Don't you love a good activity that requires minimal prep? I know I do! These suncatcher pumpkins are just that.

Supplies:
- contact paper
- white paper (opt. orange)
- orange tissue paper (opt. other colors)
- scissors
- little hands to help in the making :)
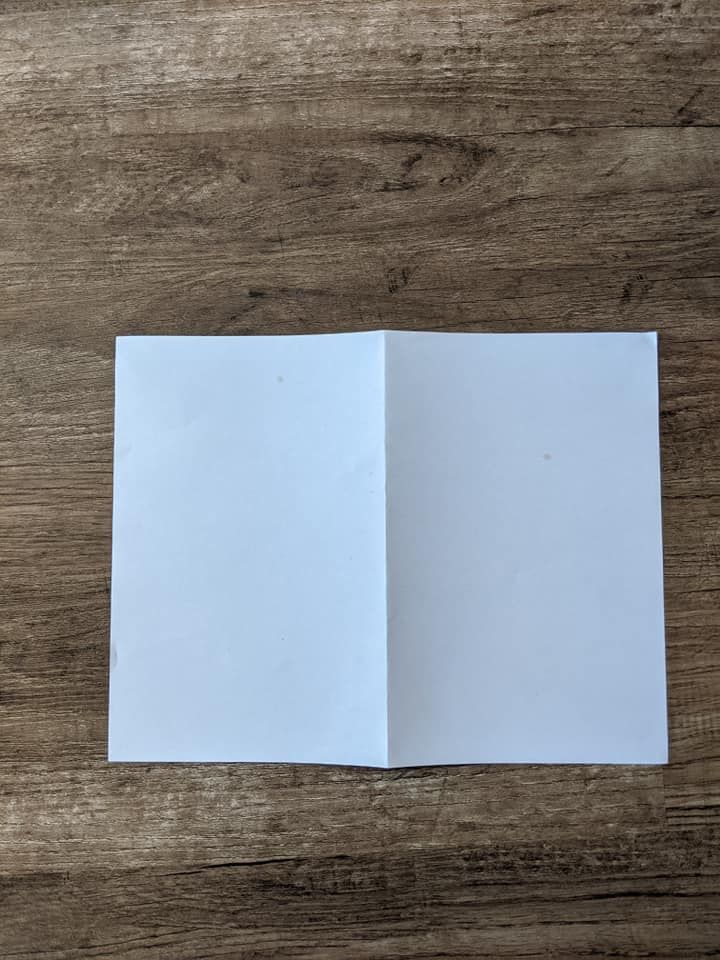
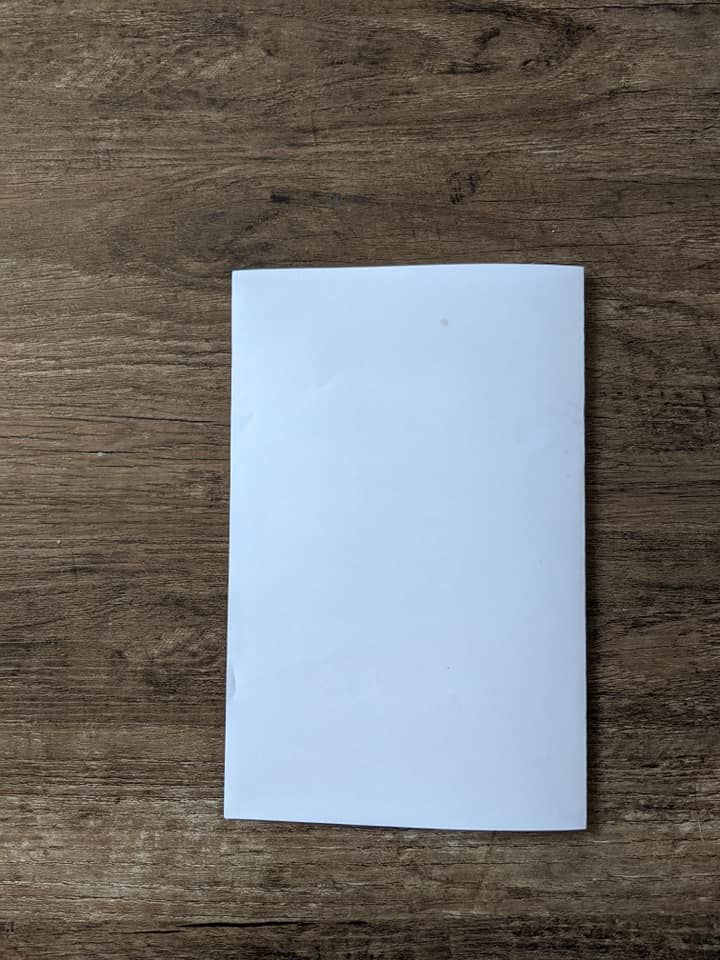
First step is cutting out a pumpkin outline on your white paper. This is easier than it sounds! Fold your paper in half and cut out a half pumpkin shape (like you would a heart). Step by step photos to follow:
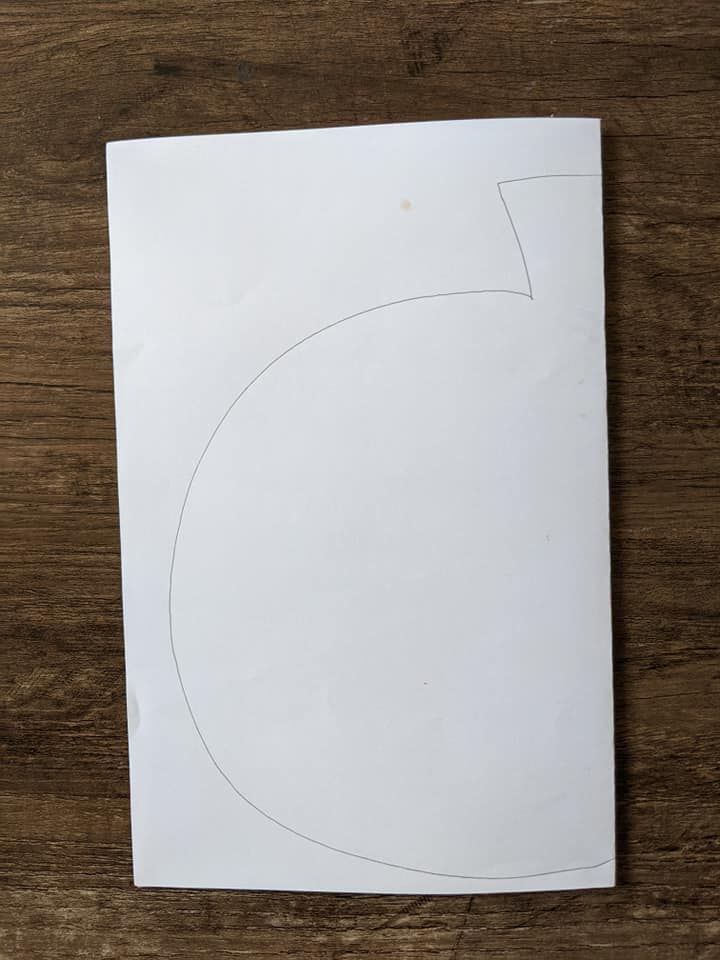
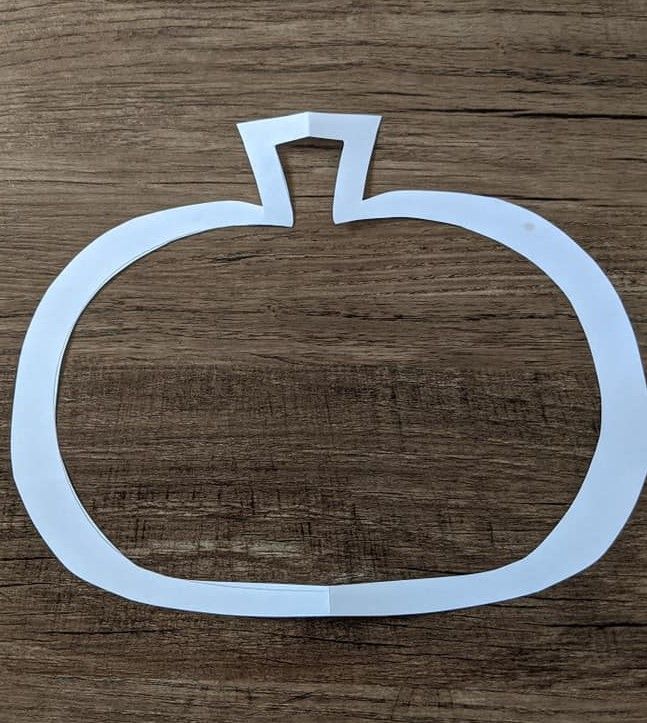
Easier than you thought, right? Remember, they don't have to be perfect. I traced mine for the step by step pictures, but when I originally did this with my little girl I did not!
The next step is optional. Since I just used a piece of computer paper that I had close by, I then had my toddler color the outline with an orange crayon before we put it on the contact paper. In hindsight, I would have had her color on both sides! Oh well, there's always next time!
Now it's time to get your contact paper and tissue paper ready! You will need two equal size pieces of contact paper that are large enough to cover your entire pumpkin outline. Don't peel the backing off of your contact paper yet. First, take your tissue paper and cut it into little squares. I used both yellow and orange tissue paper.
Okay, now you can peel your backing off of ONE of the contact paper sheets. Then stick your pumpkin outline to it. Now you are ready for your last tool on the supplies list, little hands! They just get to stick, stick, stickin'!
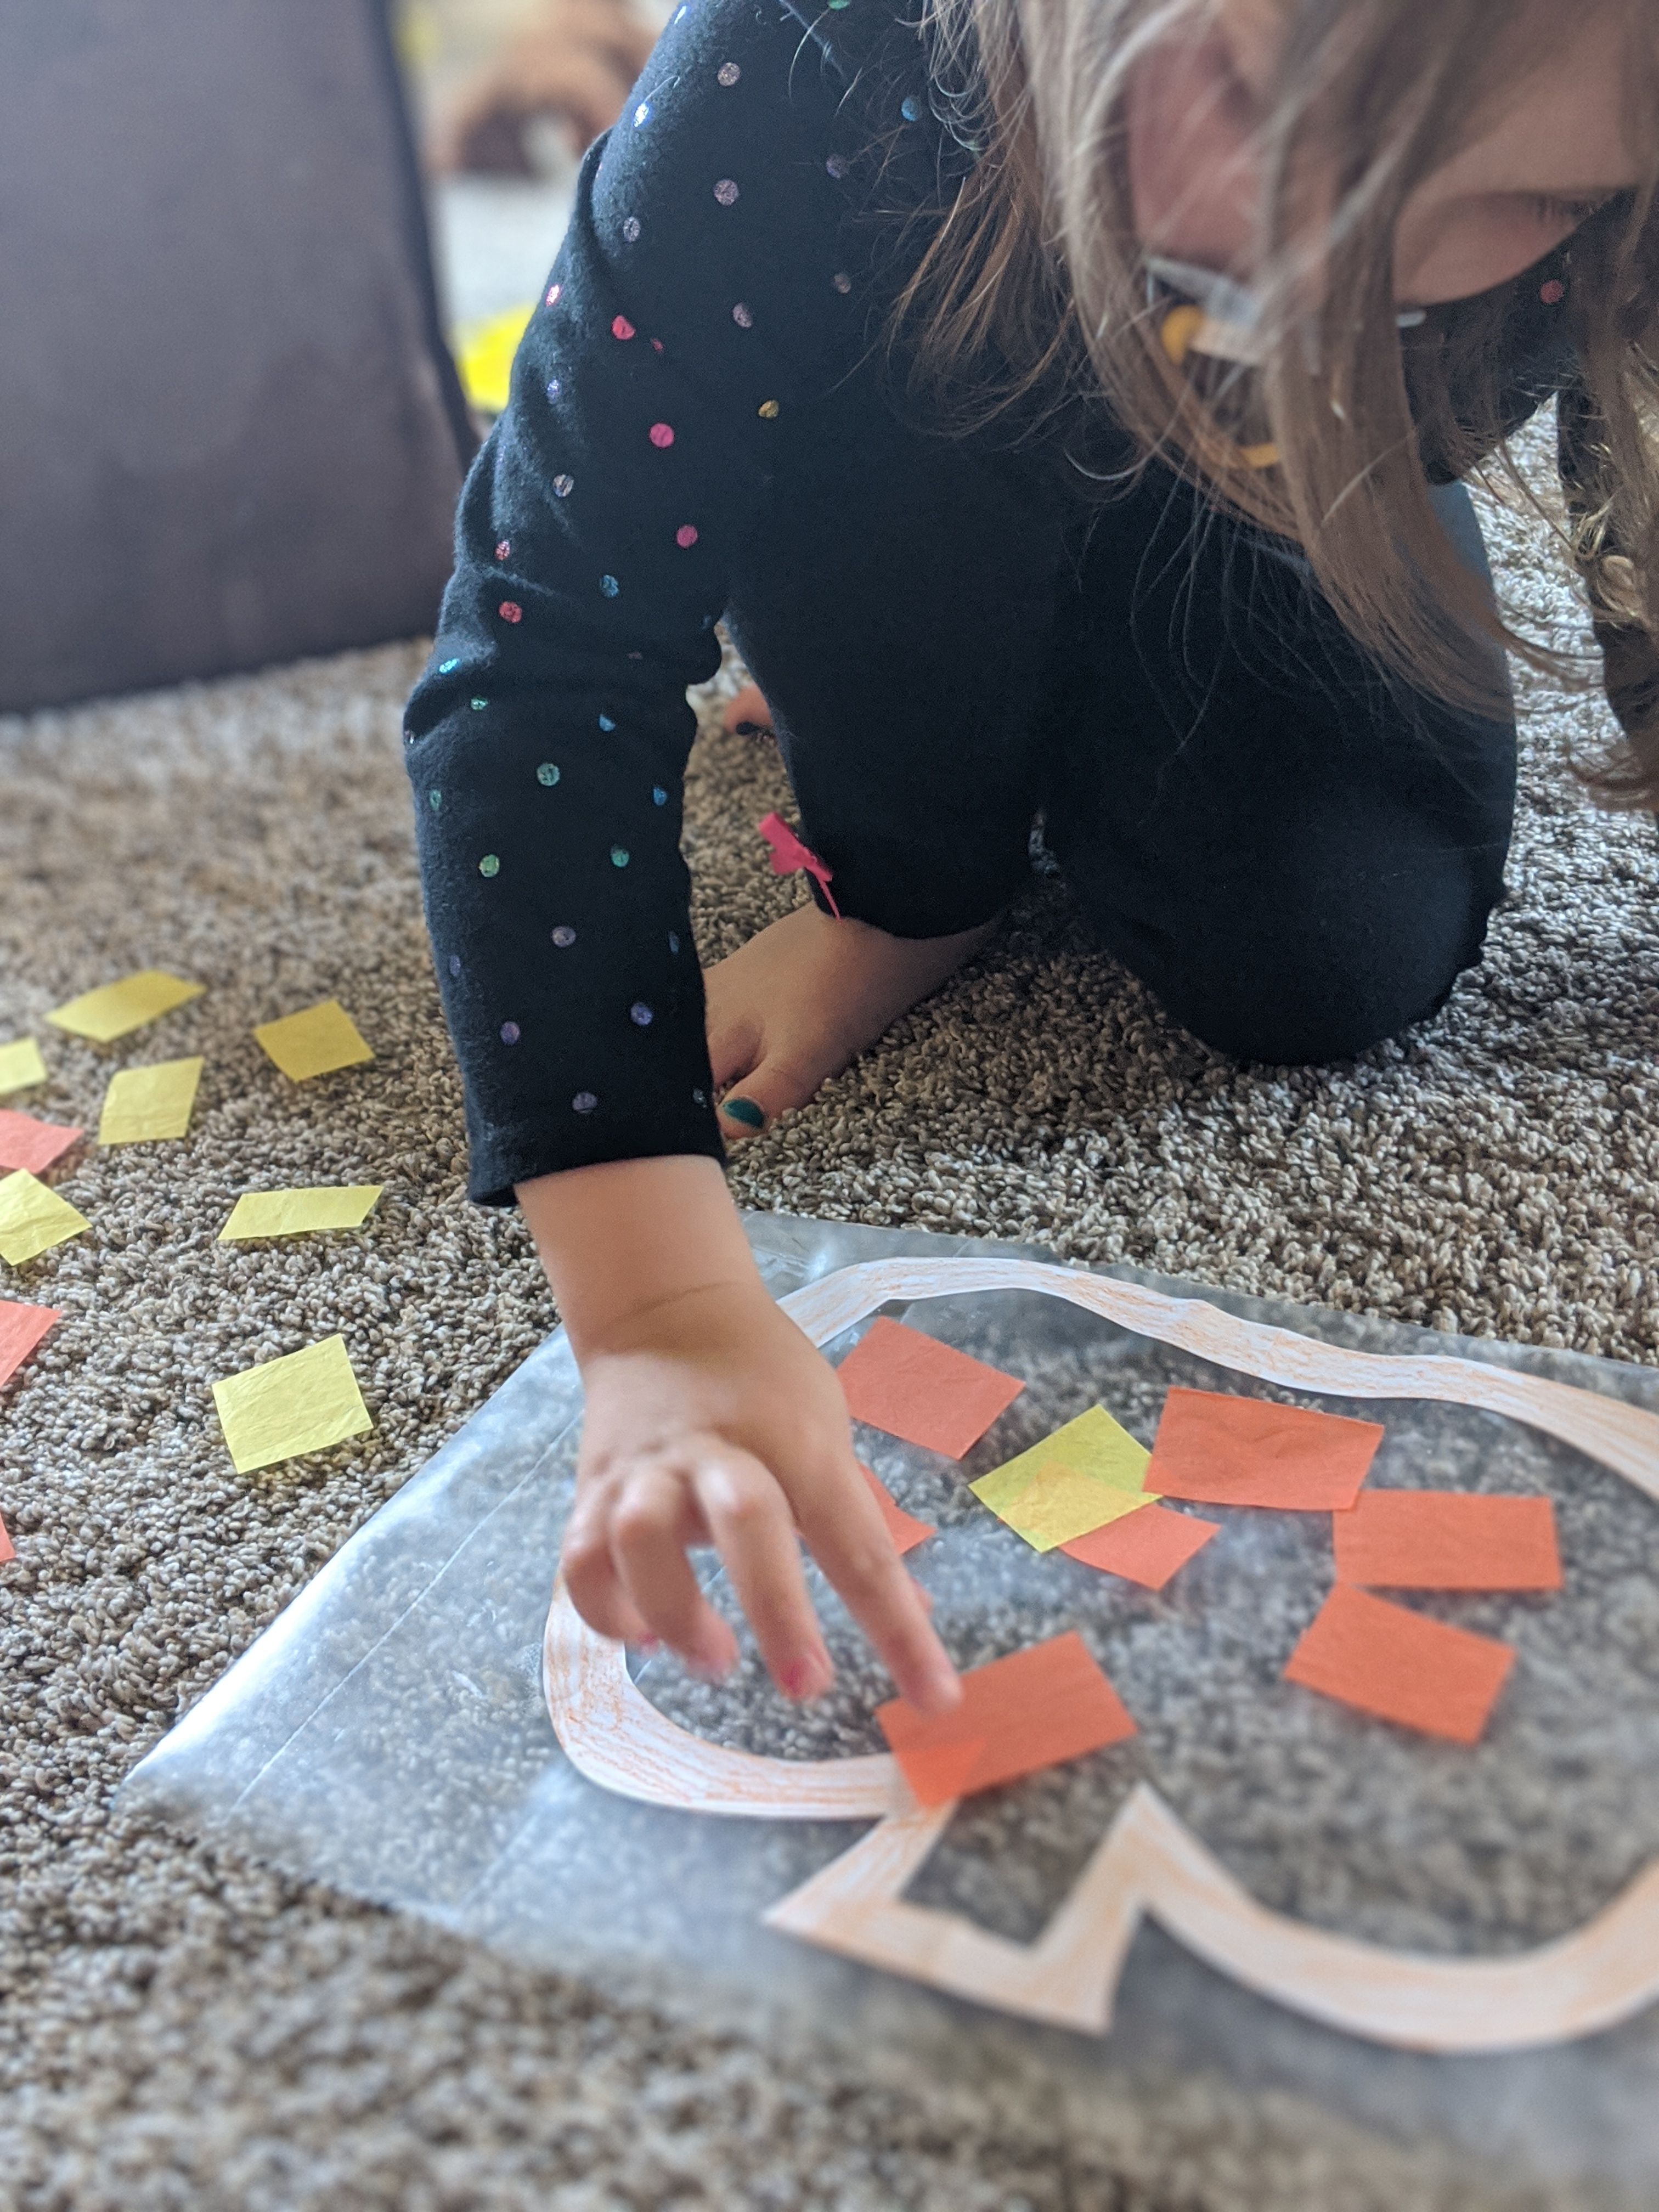
I told my little lady that she could use both colors if she wanted to, but she wanted her whole pumpkin to be orange. Which then made me think it could be used as a good color sorting activity! Bonus! One little piece of yellow clung to a piece of orange and accidentally made its way onto the contact paper. Luckily I was able to pull it off for her.
Once they are all done, take your second piece of contact paper and peel off the backing to place over the top of your pumpkin. Then you can smooth it out and use scissors to cut a close edge around your pumpkin.
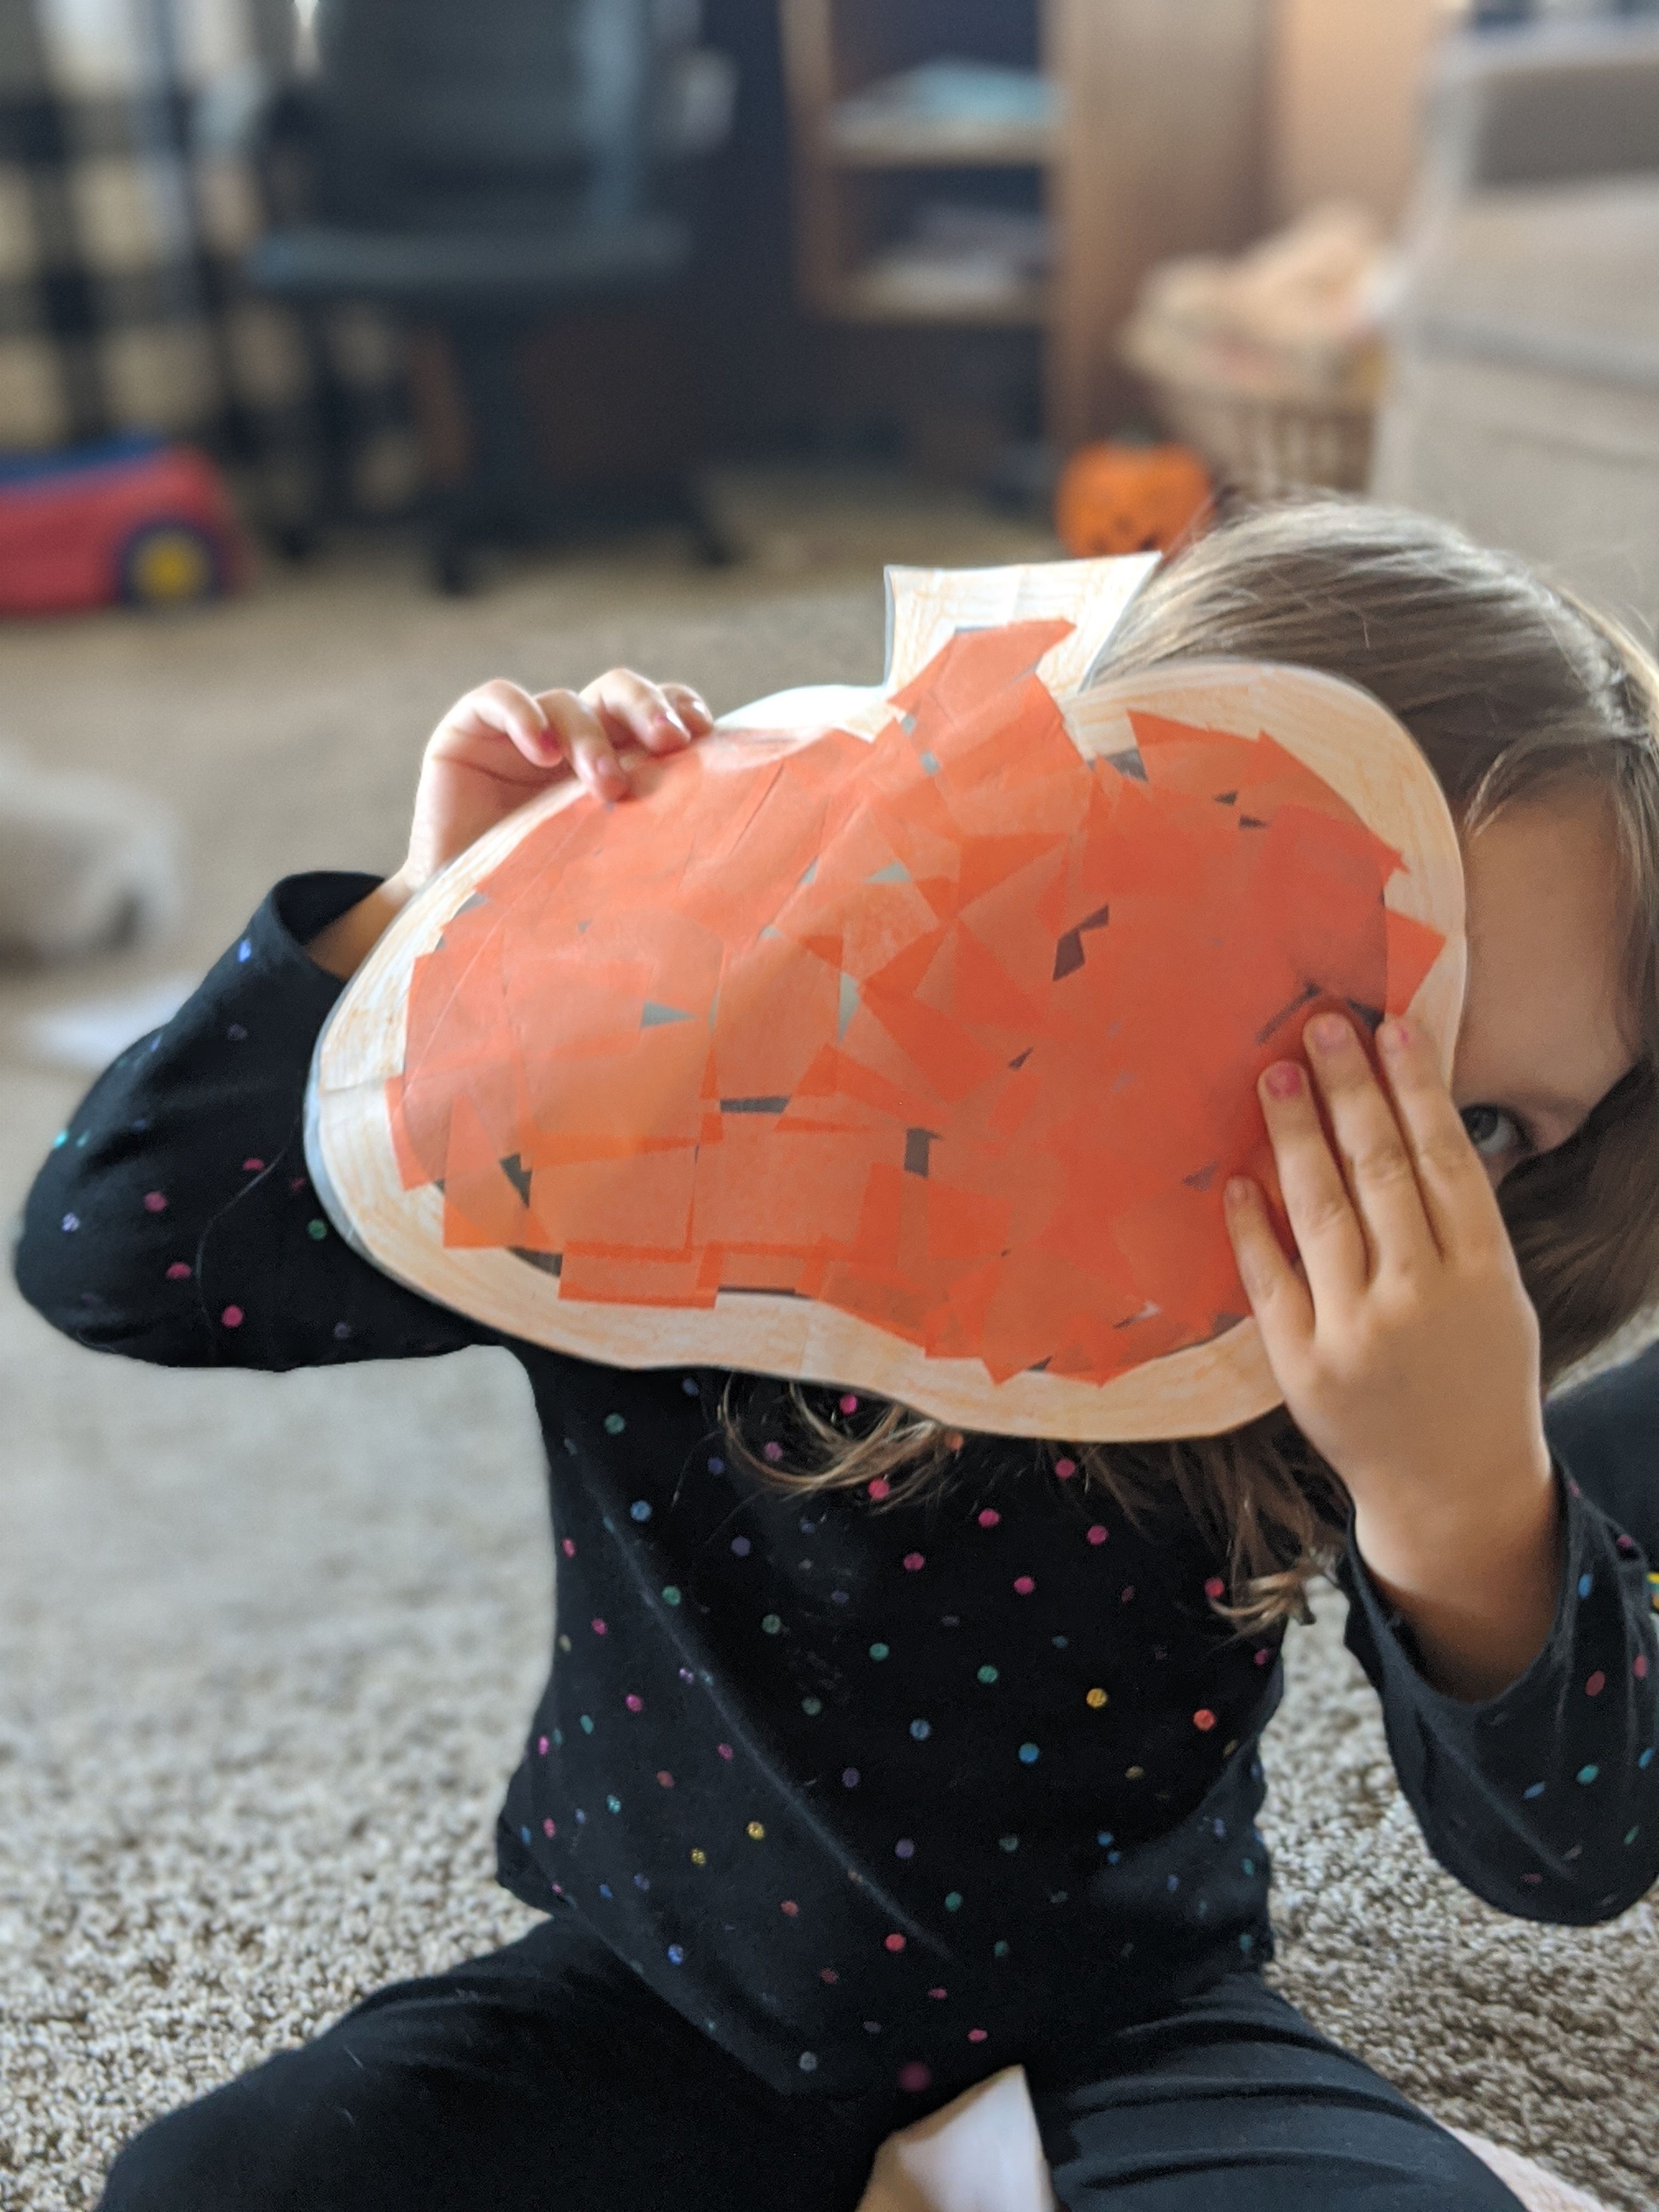
Viola! You have a fun fall suncatcher!
Tip: You can make these with any shape for any time of year to hang in your windows!